As mentioned in my previous post, I have updated my HCX server to very latest version 4.0. Now it’s time to test some of the new features including the Mobility Migration Event details.
Introduction
Before we jump into a demonstration let’s quickly recap what the Mobility Migration Event Details feature provides:
- It provides a detailed migration workflow information and it shows the state of migration and how long a migration remains in a certain state as well as a long a migration has been succeeded or failed.
- It provides the detailed information for individual Virtual Machines that has been migrating from source to destination site. It’s working for Bulk Migration, HCX RAV, and OS Assisted Migration.
So now let’s see how the procedure works.
Procedure and Tests
I decided I am going to migrate two VMs back from my on-prem Lab to VMC on AWS. The two VMs are deb10-App01 and deb10-web01.
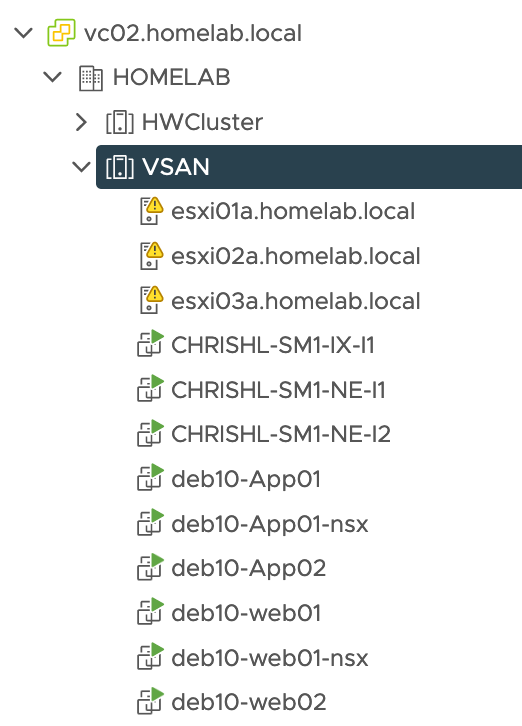
As you can see, I have already created a site paring between my source on-prem Lab and VMC on AWS datacenter.

I have also established a Service Mesh between my on-premise lab environment and one of the Lab SDDC.

The Service Mesh is a construct that associate two Compute Profiles.
Now let’s select the VMs for migration. For this exemple, I have chosen to migrate two VMs with the Bulk Migration option.
In order to launch the migration, I have to click on Migrate.

Next I am going to select the VMs I want to migrate.
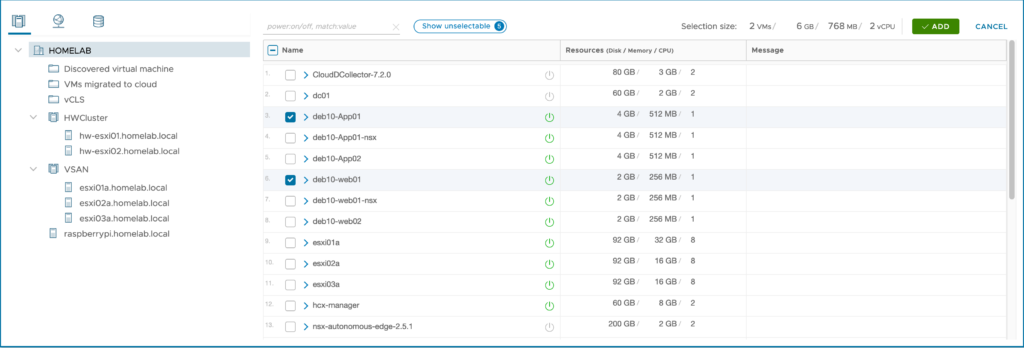
I clicked the add button to move VM to a Mobility Group.

I now have to provide the information for Transfer and Placement. So basically I have selected the only possible resource pool = Compute-ResourcePool and datastore = WorkloadDatastore. I also switch the migration profile to Bulk Migration and the Folder to VMs migrated to Cloud.

Next Step is to validate the migration option by selecting the two VMs and clicking the Validate button.

The result display a few warnings only related to the VMtools I have installed into my Debian 10 VMs but the validation is Successful.

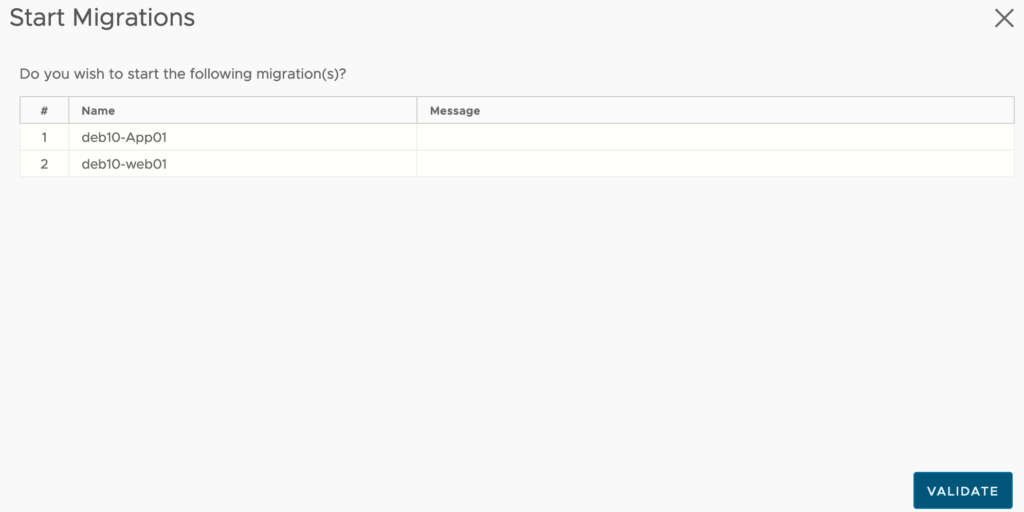
So I am gonna go ahead and start the migrations by clicking the green Go button.

and confirm it by clicking Validate.
In the beginning it shows only 0% BAse sync as the process starts.

We can click on the group info to see more information.

If I click on the group itself I can the see the list of Virtual Machines that are migrated.

After a few seconds we are starting to see the first event in the windows. If I click on individual VMs I can see the detailed events that is happening as the migration is taking place.

On the lower hand inside, you can see there is a separate section that provides the event information.
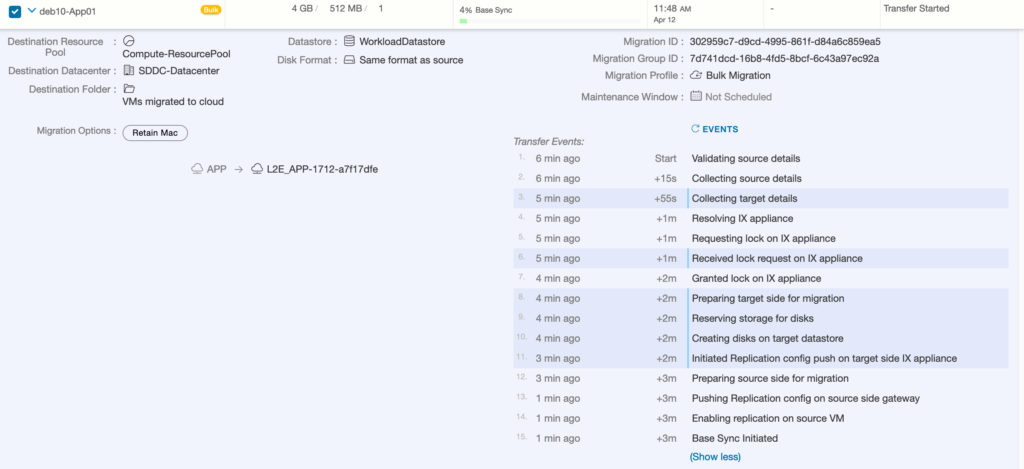
This section is divided in multiple part. Currently we see the Transfer Events section. There is a specific color coding there to distinguish tasks that are running on-premise and the one on destination. The darker blue shows the information collected on the target site.
It is possible to update regularly the list of events by clicking on EVENTS.

As the Base Sync in initiated, we can see the remaining time that’s stay to transfer the virtual machine. This is really handful when the size is very large to be aware of the time remaining to complete the transfer.

As the transfer event finishes, meaning the transfer of the VM is completed, we now see a Switch Over events section. This is visible for all of the Virtual Machines.

We can confirm that the switch over is ongoing from the first line.

After the witch over is finished, the latest events are Cleanup Events.

If I go back the Group Info, it shows me that on migration is finished and the other one is ongoing.

All the details of events is now listed in all sections.
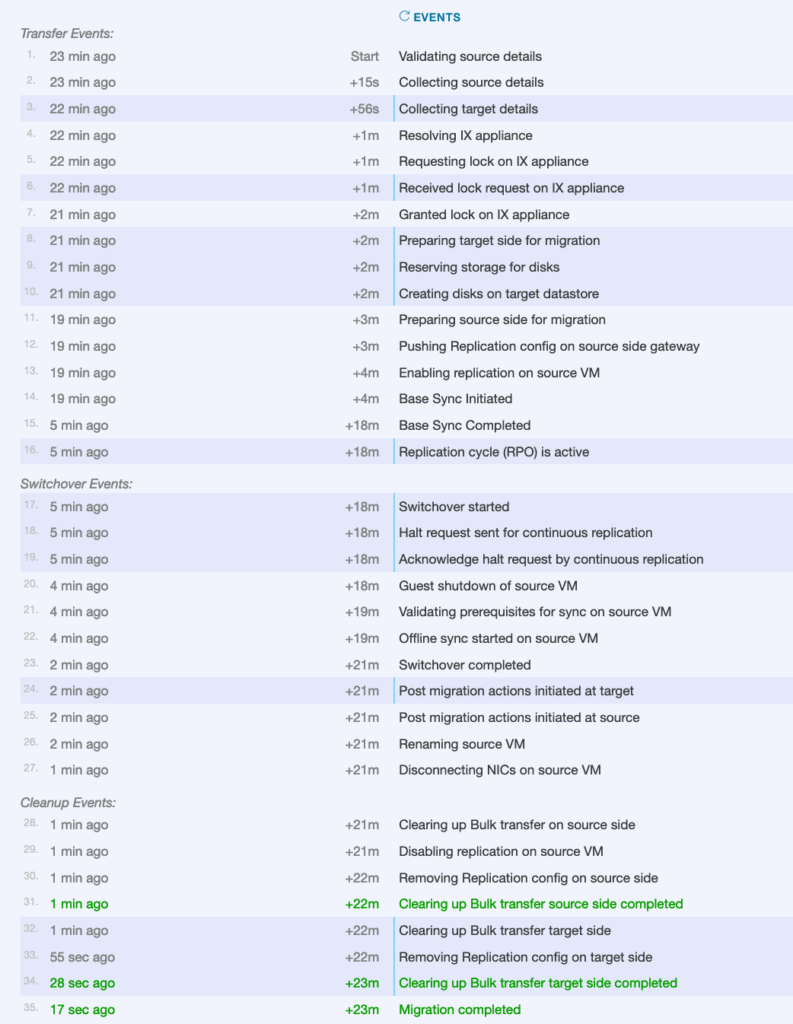
All my Virtual Machines are now migrated and we saw a detailed events and real state of the migration of individual VMs.

This concludes this post thank you for watching it.